Super Resolution (a photo tutorial)
 Let's make a stack...
When someone asked me to print one of my black and white negative frames on a 150 cm by 100 cm canvas I frowned. The format is too large for my analogue equipment. A digital scan would not yield anything larger than 4032 by 2688 pixels, theoretically good for 50 cm or so. That the original was shot using the grainy Kodak Tri-X 400 film did not help either.
Searching for a way to enhance the scanner's performance, I read an article about Super Resolution and how to do that in Photoshop. In short, Super Resolution is eliminating noise in the digital images by stacking a bunch of them and averaging their blending. The technique promises resolution increase, noise, moiré and colour-ghost reduction. Worth a try.
The snag is, that using the Super Resolution technique no same sensor pixel should capture the same part of the image twice, which at first seemed hard to do with a film scanner. But I figured that the mechanical tolerances of the device would probably provide sufficient shift in the position of the negative. Tests proved me right. There is a visible shift in successively scanned images, sometimes to the extend it leads to an alignment problem in Photoshop (step 3 below). For scanning, see the article about getting the film scanner working on Windows 10.
So Super Resolution with Photoshop CS6 applied to scanned images:
- Load the images in a stack of layers
- Scale the image up
- Align the layers
- Average the opacity of the layers
 Load into stack is an option hidden in Photoshop under the menu File > Scripts > Load Files into Stack. The option "Attempt to Automatically Align Source Images" should remain unchecked. In my case I actually used images with slightly different exposures.
Scaling the image up is a straightforward step that almost everyone who ever worked with Photoshop will have done at some point; menu Image > Image Size and scale to 200% or so. In most cases, some form of the bicubic resampling is applied, however in this process the preferred option is "Nearest Neighbour" as it preserves sharp details better.
Aligning the layers is probably the most intense step. Photoshop will need some calculation time for it. Select each layer by clicking the top one, holding the Shift key down and clicking the bottom layer. Then use the menu Edit > Auto-Align Layers. I did not use the options Vignette Removal and Geometric Distortion. After Photoshop has finished aligning the layers, it is worthwhile to check the result. In my case the inaccuracy of the scanner was so large that Photoshop had trouble getting the job done; the only option I saw to resolve that, was to remove misaligned layers from the stack.


Averaging the layer opacity is the most rewarding step of the process, as you get to see the end result. Because I used some images with different exposures, first I rearranged the stack from lightest to darkest, by just dragging and dropping layers upwards and downwards. Then I changed the opacity of each layer manually from bottom to top, using this formula:

So basically the base layer remains at 100%, the one above that is reduced to 50%, the next 33%, the next 25%, etcetera. With a large number of layers, eventually you run into the 'broken' numbers - which Photoshop doesn't accept - and some rounding off is required.
That is pretty much it. The image is now ready for any other post-processing work that Photoshop is capable of. The original article suggests sharpening 200 - 300% with a 2 pixel radius for a 12000 by 8000 pixel image; menu Filter>Sharpen>Smart Sharpen. I did not do that, because it interfered with the original film grain too much.
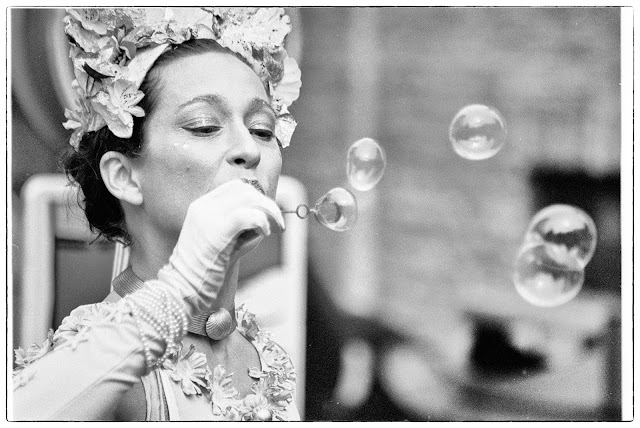
And the good news... It may not be the picture perfect technique to create large prints from analogue photos, but it worked for me and got the photo on its one and an halve meter canvas in acceptable quality...
Download 8000 x 5400 pixel versie (39.1 MB).
