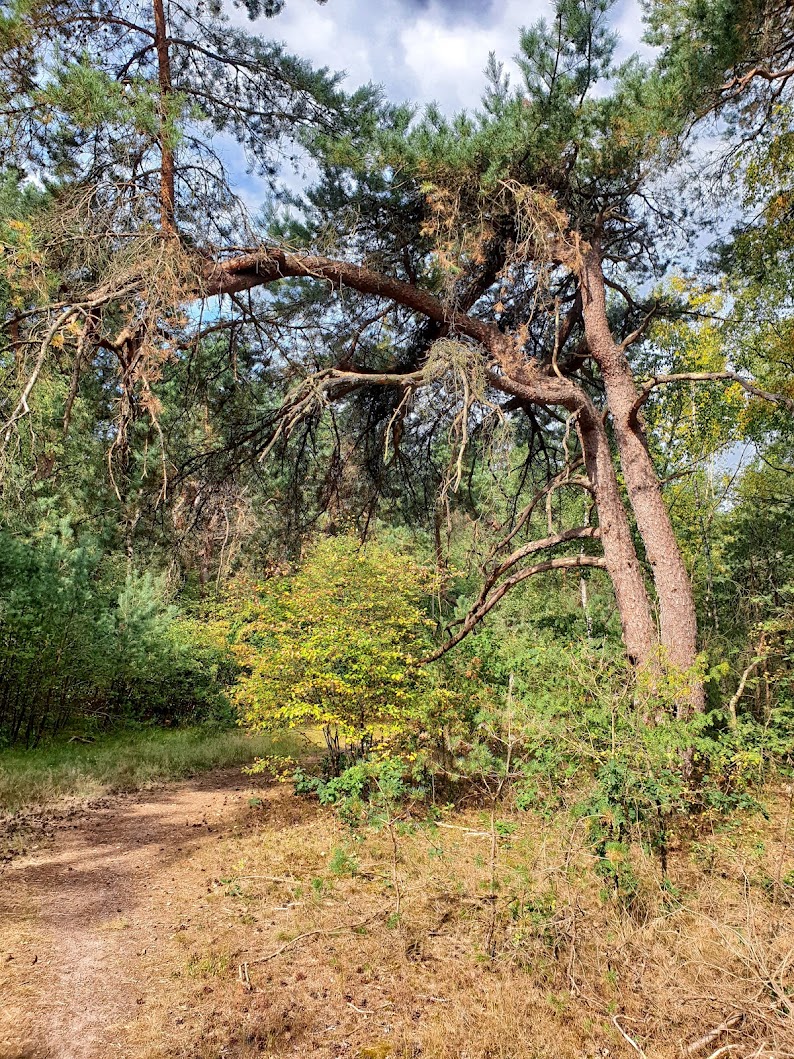
Saturday, May 18

Start of a new season

At least a month later than normal. Easy is afloat again. Engine revised, gear box revised, new drive shaft, new shart bearing, new Volvo seal, renewed heat exchanger and new fixed portlights... Easy is ready to go!
Just a few minor things... Clean the deck and get rid of the mould that found its way into the cabin...

Oh and... can we improve a bit on the weather now?

Minimaal een maand later dan gebruikelijk. Easy zwemt weer. Gerevideerde motor, gerevideerde keerkoppeling, nieuwe schroefas, nieuwe shroefaslager, nieuwe Volvo seal, vernieuwde warmtewisselaar en nieuwe raampjes in de romp. Easy is er klaar voor!
Slechts een paar dingetjes... Dek reinigen en de schimmel te lijf gaan, die z´n weg de kajuit in gevonden heeft... 

Oh en... kunnen we dan nu het weer ietsje verbeteren? 


Sunday, May 5

Resealing fixed portlights

For the Catalina 36 IA community...

During last summer's trip to Norway Easy's deadlights (fixed portlights) started leaking. For two reasons, initially I didn't really pay attention to it. One: we were close hauled in 40 - 45 knots winds, doing 3 knots against 3.5 meter (11.5 feet) waves.
Two: We were thoroughly wet ourselves and the little volume of water from the window didn't match what we brought in ourselves, while entering the cabin for navigation, pills and the occasional 'tot of Beerenburg'.

However the water did spoil the books - stored underneath the portlight - and this winter I noticed them leaking even during the frequent rains. Time for corrective action...
The installed deadlights are old-type Lewmar type 2 fixed portlights. Other than some Catanina's, that were fitted with the more rounded RE type portlights. One characteristic of the old type is, that it was manufactured using two half frames with horizontal gaskets where the two halves meet. I'll refrain from further comments on this construction, but from the pictures below is quite obvious that an aged gasket creates a leak path. It might even be a sizable leak.

Almost impossible to remove the portlight without damaging its frame or the boat's gelcoat, the choices are:
1. Try to reseal the gaskets
2. Remove the portlight and replace it
Pictures below demonstrate that option 1 is the cheapest and quickest, by far.

Removing the gasket (left) and the portlight with one gasket in place and one removed (right)

Removing the gaskets is easy. Pliers will do, though care is needed not to damage/scratch the soft aluminum frame. Filling the resulting gap with sealant is easy. One guess where that boat's name comes from...
What's left of the gasket; discoloration and dirt indicate that some water ingress has taken place...
 Before applying the sealant, properly protect the area with tape. For me, the care with which the tape is applied, pretty much determines the end result. With one of the portlights removed for replacement, I had the luxury of testing my solution on the old one first, before trying it on my precious boat...
As a test, I applied my solution first on an old and damaged porthole that I removed completely.  
That test was valuable. Impatient for results, I started filling the joint from the outside first; this is the visible part. On the inside of the boat, the portlight has a plastic cover, hiding the portlight's construction and joint.
The predictable result, when I turned the porthole over, was that the sealant didn't completely fill the joint. This is a dilemma:
  • Reapplying sealant on the inside, while the sealant on the outside was still fresh, would push the sealant out on the outside, creating a mess (eager as a was, I had already wetted the area to remove excess sealant and removed the tape)
  • Applying sealant on the inside, after the outside had dried, wouldn't create a uniform mass of sealant in the joint.
The big learning? Apply the sealant on the inside first - where it doesn't really matter that the bead is a bit messy - then apply on the outside. 
Learning number two? Count to ten before you act... 
The test joint after removing the tape (left); note the dents in the aluminum frame that were caused by the removal of the portlight from the hull. On the right the inside of the portlight, notable here that the sealant hasn't completely filled the joint between the two frame halves.


The caulking:
  1. Clean the joint! 
  2. The sealant I used was DL Chemicals Parabond 600 (grey); a siloxane based adhesive filler.
  3. I always tape the area around the 'bead' at home and I applied that same principle on these portlights; not everybody does that, but apparently I'm enough of an amateur to need it. 
  4. After applying the sealant/caulk, I wet the area with a soap solution (hence the water on the pictures); the wetting prevents excess sealant from sticking to surfaces where you really don't want it. I also wet my hands and tools during removal of the excess sealant and a wet cloth to wipe lumps of caulk from the removal tool. 
Much more experienced 'silicone gunners' than I, have put their best practice videos on Youtube...

Oh... the endresult:
One joint caulked, the other good to go...
All pictures were made with a mobile phone; illustrative I hope, but not top quality I'm afraid...

Monday, April 29

Deadlight port

Removed... The fixed portlight, which leaked due to aging and an increadibly silly construction weakness.

Friday, April 19

Storm

Yesterday's storm blew 'the bike' right off its 'jiffy'. The score? Scraped fairing, broken wing, dented brake disk, bent handle bars and right front-brake caliper. Grrrrr!
'Poor' insurance company is set back about 2000 Euros...

Sunday, April 7

Cleaning... and spring is here!

Previous years, we made sure 'Easy' was in the water by the first of April. This year, even if we had wanted to, ice in the marina would have prevented that. With the sub zero temperatures, we didn't even want to go there.
But today is nice! We can do whatever we need to do, to prepare the boat for float. So... May 1st is 'Easy's' launch date for the 2013 season. One month late... 

Voorgaande jaren lag  'Easy' rond 1 april in het water. Zelfs als we hadden gewild, had het ijs op de Gouwzee dat dit jaar verhinderd. Met temperaturen van onder nul, wilden we er eigenlijk niet eens heen. 
Maar vandaag is het eindelijk... Een zonnetje. Kunnen we eindelijk doen wat je zoal moet doen voordat een boot te water gaat. Één mei te water voor seizoen 2013. Een maand te laat... 

Monday, April 1

Complaining moaning meowing...

Easter, first of April and just changed all clocks to daylight savings time. And the weather? It's snowing for the zillionth time, this year.... Barf!

Sunday, March 3

Cabo Verde

Officially the Republic of Cape Verde, is an independent country, spanning an archipelago of 10 islands located in the central Atlantic Ocean, 570 kilometres (350 miles) off the coast of Western Africa near Gambia.

Everyone else goes here for a fantastic holiday, away from the dreadful European weather during the winter. I - of course - take a truck-load of germs with me and consequentially develop a 39,9°C fever, that keeps me in bed for the best part of a week.

Fortunately, our destination - the isle of Sal - is a barren wasteland, with nothing to do. The Cape Verdeans made a smart move here. Bunk your tourists in luxury four star hotels and make sure they don't find a reason to leave the premises.


Thursday, February 21

Big Dig Delft (part 32)

Because we still photograph the project's progress and its changes to the city, for Delft municipality.
Where we start and where we finish...


The concrete support  but with a train and a tram passing...

Sunday, February 17

Big Dig Delft (part 31)

Tunnel one is ready! They're now placing concrete supports on its roof. Those will carry the masts for the tram's electrical contact wires. Where the tram runs now, is the location for the second dig: tunnel number two. The third dig will be the underground parking.


Tunnel één is klaar! Nu plaatsen ze de betonpoer, waarop de bovenleiding van de tram bevestigd wordt, op het tunneldak. Omdat waar de tram nu rijdt, de tweede tunnel komt. De derde grote graafpartij is de ondergrondse parkeergarage. 

Friday, February 8

Zen's Zero Motor Cycle Maintenance!


Gelukkig verkoopt de dealer nog genoeg speelgoedjes om een midlife crisis mee te lijf te gaan.  Terwijl ik wacht totdat de lijm van de verwarmde handvatten op m'n Honda droog is...


Fortunately the bike dealer still sells plenty of toys to tackle a mid-life crisis. While I wait for the glue to dry on my Honda's heated handle-bar...

Title of post borrowed from Zen and the Art of Motor Cycle Maintenance, a book not very factual on motor cycle maintenance either....